
Before you dive
What to bring for a Lead run
Lead is not worth a preventable death. Prepare for a short repeatable loop instead of a single deep expedition.
Scanner
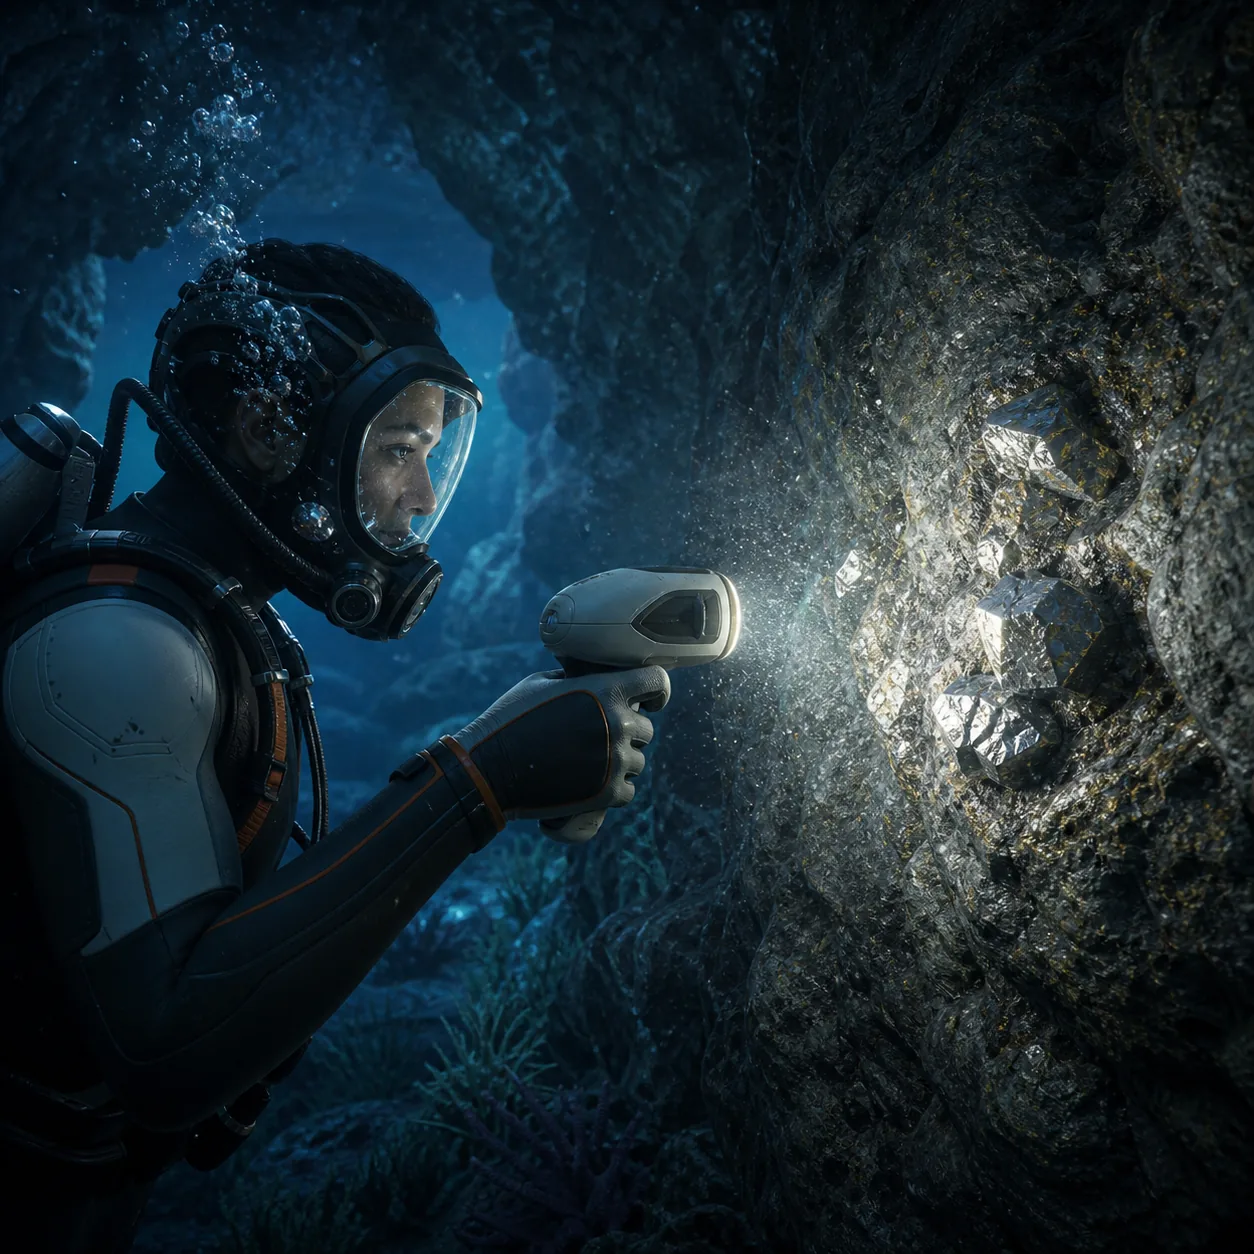
Use the handheld Scanner to identify the deposit and confirm that you are not breaking a different outcrop by mistake.
Oxygen margin
Enter the cave with enough air for the route home. A full tank is less important than knowing the exact exit you will use.
Beacon
Place one at the cave mouth or the first major arch. A visible return marker is safer than memorizing a turn in Early Access terrain.
Inventory space
Leave room for Lead and the other materials you will find on the same loop. Returning too early wastes the dangerous part of the trip.
Where to look
Current Lead locations and landmarks
Use these landmarks as route language, not as permanent coordinates. Patches can change terrain, outcrop density, and the exact resource table.
| Landmark | Direction | What to look for | Main risk |
|---|---|---|---|
| Lifepod to shallow shelf | Move away from the Lifepod toward the nearest readable rock shelf | Breakable outcrops near the floor and low walls | Losing the surface-facing return line |
| Cave entrance | Follow the first cave opening that still leaves a clear way back | Mineral nodes on both sides of the entrance | Spending oxygen searching every branch |
| Cave wall and ledge | Sweep clockwise around the wall instead of dropping deeper immediately | Small deposits tucked into shadow or behind a ledge | Missing nodes because the Scanner angle is too low |
| Return route | Leave the deepest point before your safe oxygen margin ends | Beacon, Lifepod silhouette, or a known arch | Keeping Lead but losing the whole inventory |
Route
A safe early route to Lead
The goal is a short route that you can repeat after crafting, not a heroic dive into an unmarked cave.
- Mark the LifepodFace the Lifepod before leaving and note one surface feature behind it. This gives you a reliable return reference when the water becomes darker.
- Cross the shallow shelfStay high enough to read the terrain. Look for broken rock shelves, arches, and a cave mouth instead of swimming directly into open water.
- Place a BeaconDrop a Beacon at the entrance if the route has more than one branch. Name it for the area, not for a guessed permanent coordinate.
- Sweep the wallsMove slowly around the first wall and ledges. Scan before breaking, then check the opposite side of the same chamber before going deeper.
- Leave with a marginTurn around while the return is still calm. A smaller Lead haul that reaches the base is better than a full inventory lost to oxygen.

If your cave is empty, do not assume the guide is broken. Resource density, terrain states, and spawn tables can change; rescan a neighboring cave and check the latest official update notes before repeating an old coordinate.
Identification
How to identify Lead deposits
Lead is easiest to miss when the search is too fast. Let the Scanner and the shape of the rock do the work.
Check the wall, not only the floor
Outcrops can sit on darker seams and small shelves. Look across the wall at eye level before dropping to the next chamber.
Scan before breaking
The Scanner confirms whether the node is the resource you need and reduces wasted tool swings on a busy cave route.
Search both sides of an arch
A cave entrance can hide a second deposit behind the return-facing side. Make one clockwise sweep before moving on.
Use the Scanner Station later
Once your base can support it, the Scanner Station can shorten repeat searches. It does not replace a Beacon or an oxygen plan.
Harvest
How to collect Lead without losing the run
The first successful Lead trip should teach you a route you can repeat. Do not turn one missing material into an overloaded expedition.
- Scan the first nodeConfirm the deposit before you commit to the chamber. If it is not Lead, keep the route marker and continue the sweep.
- Collect a practical batchTake enough for the next recipe or upgrade, then stop. Early Access balance can make a later, safer run more efficient than one oversized haul.
- Check the chamber exitBefore opening inventory, look back toward the Beacon, arch, or Lifepod. Know the direction home before oxygen becomes the loudest problem.
- Log a changed routeIf the node moved or disappeared after an update, record the new landmark in your own notes and avoid presenting the old location as guaranteed.
Uses
What to use Lead for first
Prioritize the recipe that removes your current bottleneck. Lead is more useful when it supports a safer loop than when it sits unused in storage.
Advance the next blocked recipe
If Lead is the missing ingredient for a base, power, storage, or protection item, craft that bottleneck first rather than collecting a large reserve.
Support a repeatable base loop
A small relay base, clear storage labels, and a reliable return point usually create more value than an oversized early build.
Pair it with route materials
Collect Lead alongside nearby common materials so each cave trip also supports repairs, beacons, power, or the next tool step.
Recheck after updates
Recipes and material requirements can move during Early Access. Verify a current patch note before treating an old crafting priority as permanent.
Troubleshooting
Why you cannot find Lead
Most failed searches are route or visibility problems, not proof that the resource is absent from the build.
You searched open water
Return to the nearest cave, wall, ledge, or breakable outcrop. Lead searches are easier when the terrain narrows the number of places to inspect.
The cave was already harvested
Try a neighboring chamber or return after a later session. Early Access resource state and respawn behavior may not match another player's run.
Your guide shows a different node
Use the landmark and route logic, not one exact coordinate. An update can move terrain or change the density around a familiar arch.
The Scanner Station shows nothing
Check base power, module placement, target selection, and range. Use the handheld Scanner to verify the node when the station result is unclear.
FAQ
Subnautica 2 Lead FAQ
Where do you find Lead in Subnautica 2?
Start near the Lifepod and search the nearby cave network, especially wall outcrops, ledges, and breakable mineral nodes. Use the route as a landmark guide rather than a permanent coordinate because Early Access terrain and resource density can change.
How do you get Lead in Subnautica 2?
Bring a Scanner, identify the correct outcrop, collect a practical batch, and leave enough oxygen for the return. A Beacon at the cave entrance makes the next run much safer.
Do you need a Sonic Resonator to collect Lead?
Do not assume every Lead node needs the same tool. Check the current interaction prompt and update notes; a handheld Scanner and the ordinary collection action may be enough for the node you are visiting.
Why is Lead missing from a location shown in an older guide?
Subnautica 2 is in Early Access, so terrain, spawns, and resource tables may change. Check a nearby route, rescan the cave, and compare the guide date with the latest official update.
Can the Scanner Station find Lead?
The Scanner Station is useful for shortening repeat searches when it is powered and within range. Treat it as a planning aid, then verify the actual deposit with the handheld Scanner in the water.
Should I create a separate Lead base?
Usually not for the first batch. A small relay point near a safe return route is enough; build a dedicated outpost only when repeated travel time becomes the main risk.