Before you leave
Prepare for a long resource run
The hard part is not the crafting step; it is reaching the correct biome, recognizing the deposit and returning safely. Treat the trip like a deep exploration run instead of a quick shoreline pickup.
Sonic Resonator
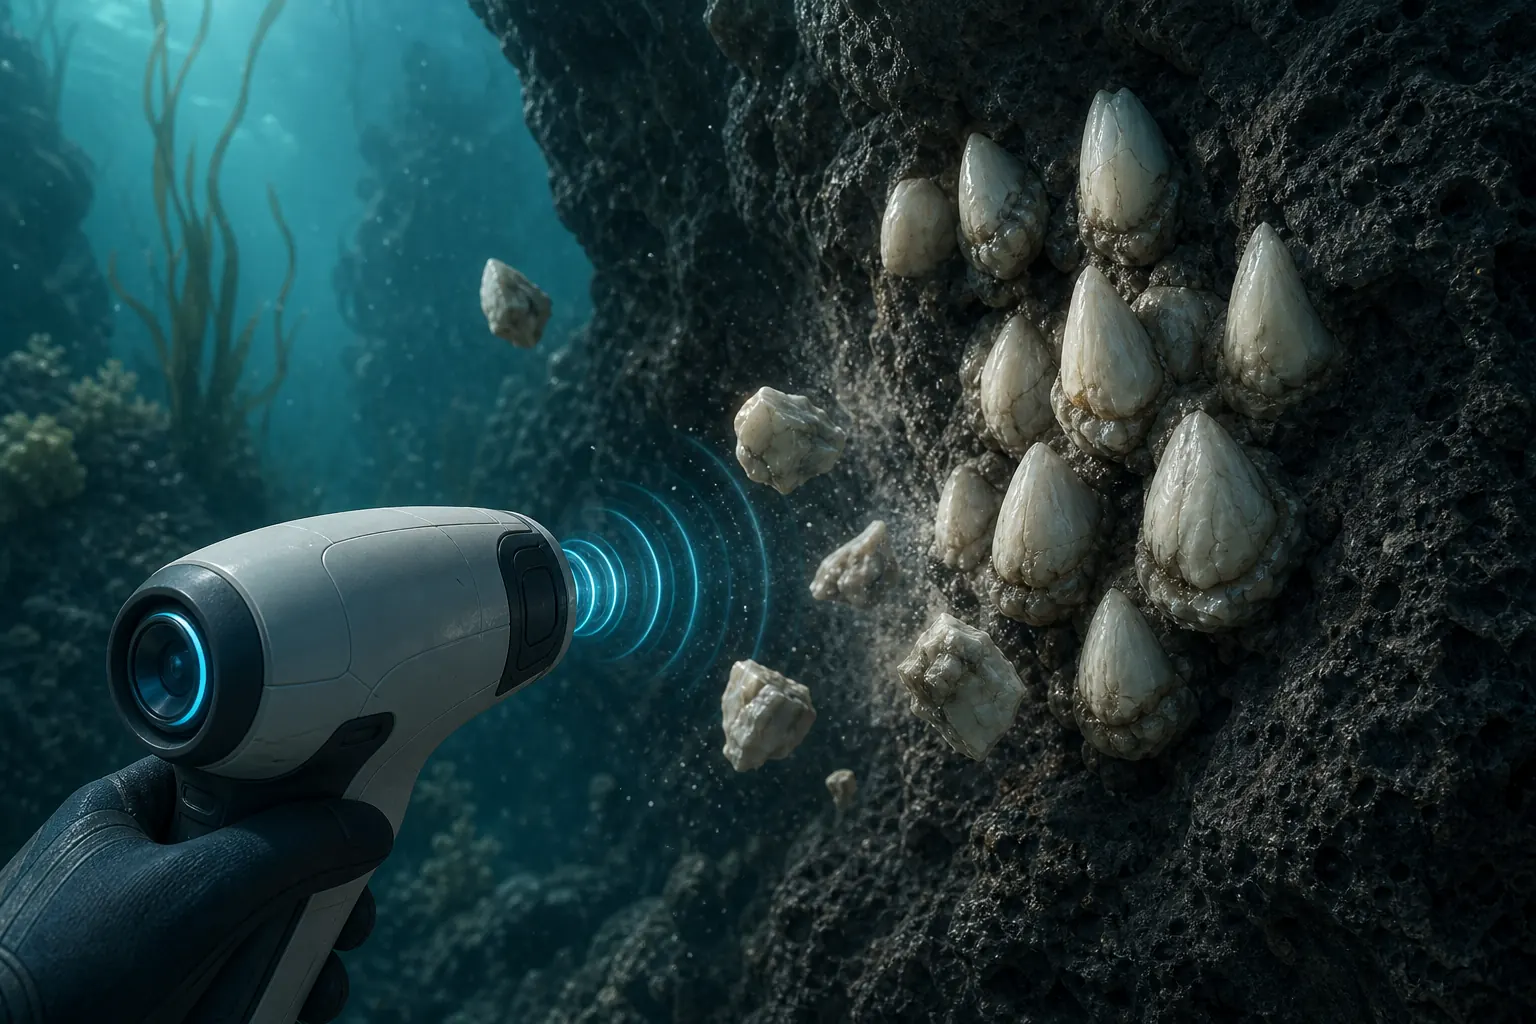
Creature Enamel is attached to an Enamel Husk-style deposit. Current guides consistently require the Sonic Resonator to knock pieces loose, so do not travel there expecting the knife or bare hands to work.
Navigation and storage
Place a Beacon at the entrance or on the first reliable ledge. Empty several inventory slots because pieces can scatter around the node and a second nearby cluster may make the trip much more efficient.
Survival supplies
Carry a charged Seaglide or Tadpole, a spare battery, food, water and at least one First Aid Kit. Avoid committing to the deepest shelf if your oxygen or vehicle power is already low.
Early Access caution
Subnautica 2 is still in Early Access. Spawn density, model appearance, recipes and biome landmarks can change between updates, so use the terrain description and in-game resource name together.
Where to search
Best Creature Enamel locations in Subnautica 2
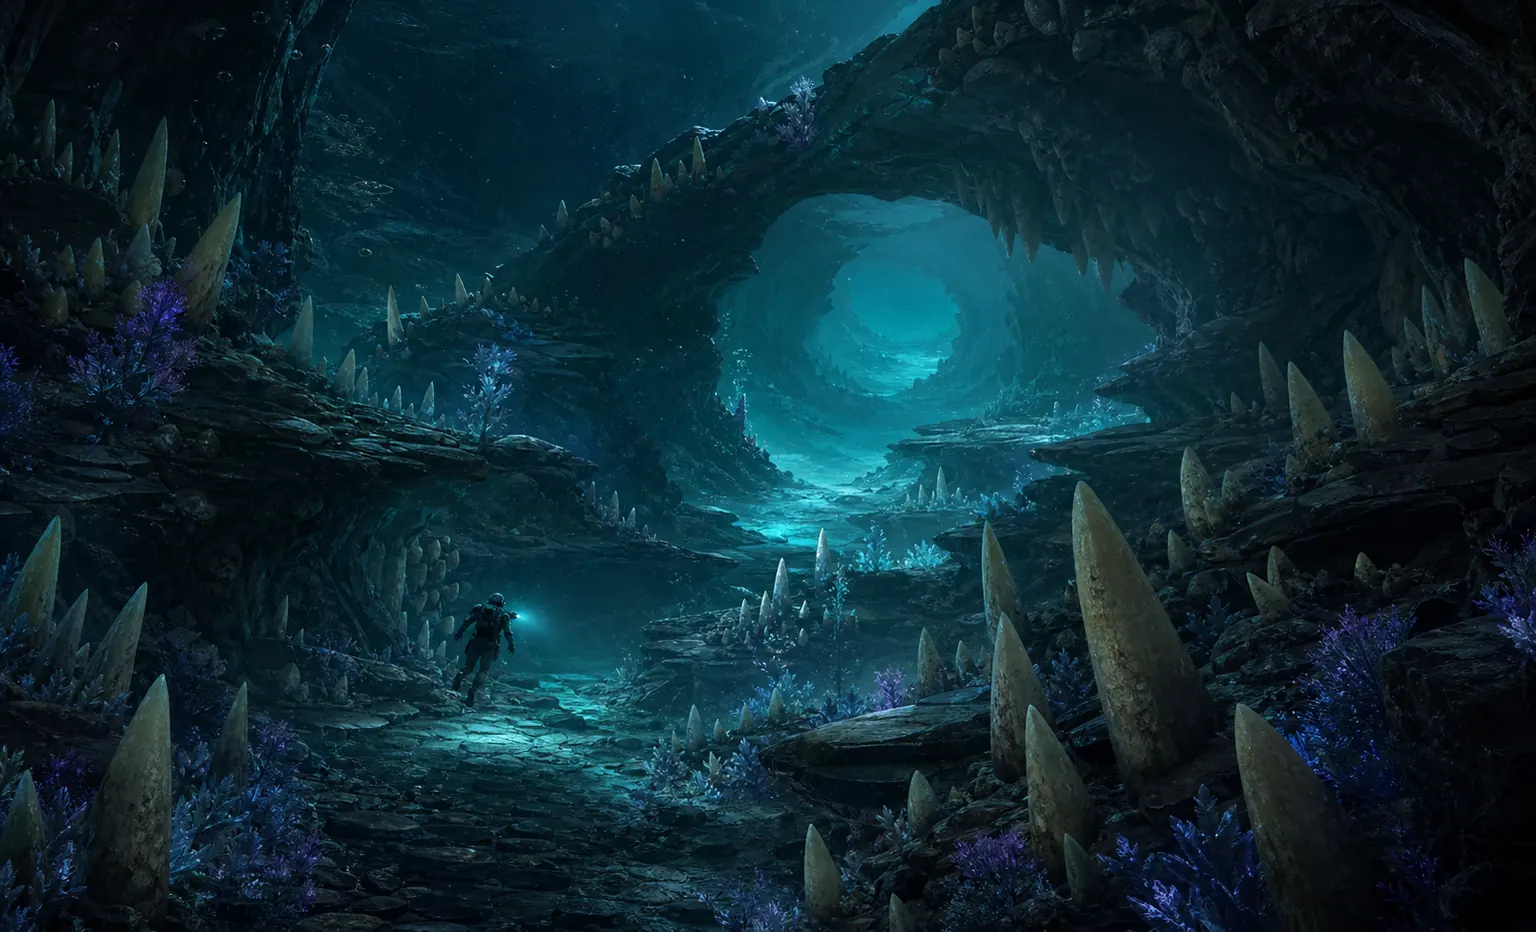
The reliable search zone is the Needler's Nest area north of the Twisty Bridges. Different guides describe slightly different ledges because deposits and routes can vary, but they agree on the same search pattern: descend into the darker needle-filled terrain and inspect rock surfaces close to the seabed.
| Search zone | What to look for | Risk and value |
|---|---|---|
| Outer Needler's Nest terraces | Enter from the brighter Twisty Bridges side and sweep the first broad ledges. Check the floor, underside of shelves and the base of needle formations before descending farther. | Safest first pass; fewer deep detours and a good place to leave a Beacon. |
| Northern trench shelves | Continue into darker water and follow descending rock terraces. Pale enamel clusters are easier to see against black stone when you keep the flashlight angled across the wall. | Better chance of multiple deposits, but longer return distance and more exposure to hostile fauna. |
| Cavern floor and wall pockets | Circle large formations and inspect low wall pockets rather than swimming through the center. Loose pieces may land below the original node after the Sonic Resonator hits. | High collection efficiency if you search methodically; easy to miss drops in vegetation or uneven rock. |
Fast route
A repeatable Needler's Nest farming route
Exact compass lines are less dependable than landmark-based navigation in Early Access. Use the transition from bright twisted coral to darker needle formations, then work the terraces from shallow to deep so you always know the way back.
- Start from Twisty BridgesTop up oxygen, power and supplies, then travel north toward the darker biome transition. Keep the brighter coral behind you as the return landmark.
- Beacon the first shelfDrop a Beacon where the terrain changes into broad ledges and needle-like structures. This turns a confusing return trip into a direct ascent.
- Sweep one level at a timeMove clockwise around each terrace. Scan the floor, wall base and shelf underside before descending, rather than zigzagging between depths.
- Use side lightingAim the flashlight along the rock surface. The pale, tooth-like enamel deposit stands out more clearly when light crosses it from the side.
- Collect the drop zoneAfter using the Sonic Resonator, pause and search below the node. Pick up every loose piece before firing again or moving to the next shelf.
- Leave with a reserveIf conditions are safe, gather more than one recipe needs. Enameled Glass appears in several advanced upgrades, so a small reserve avoids repeating the full route immediately.
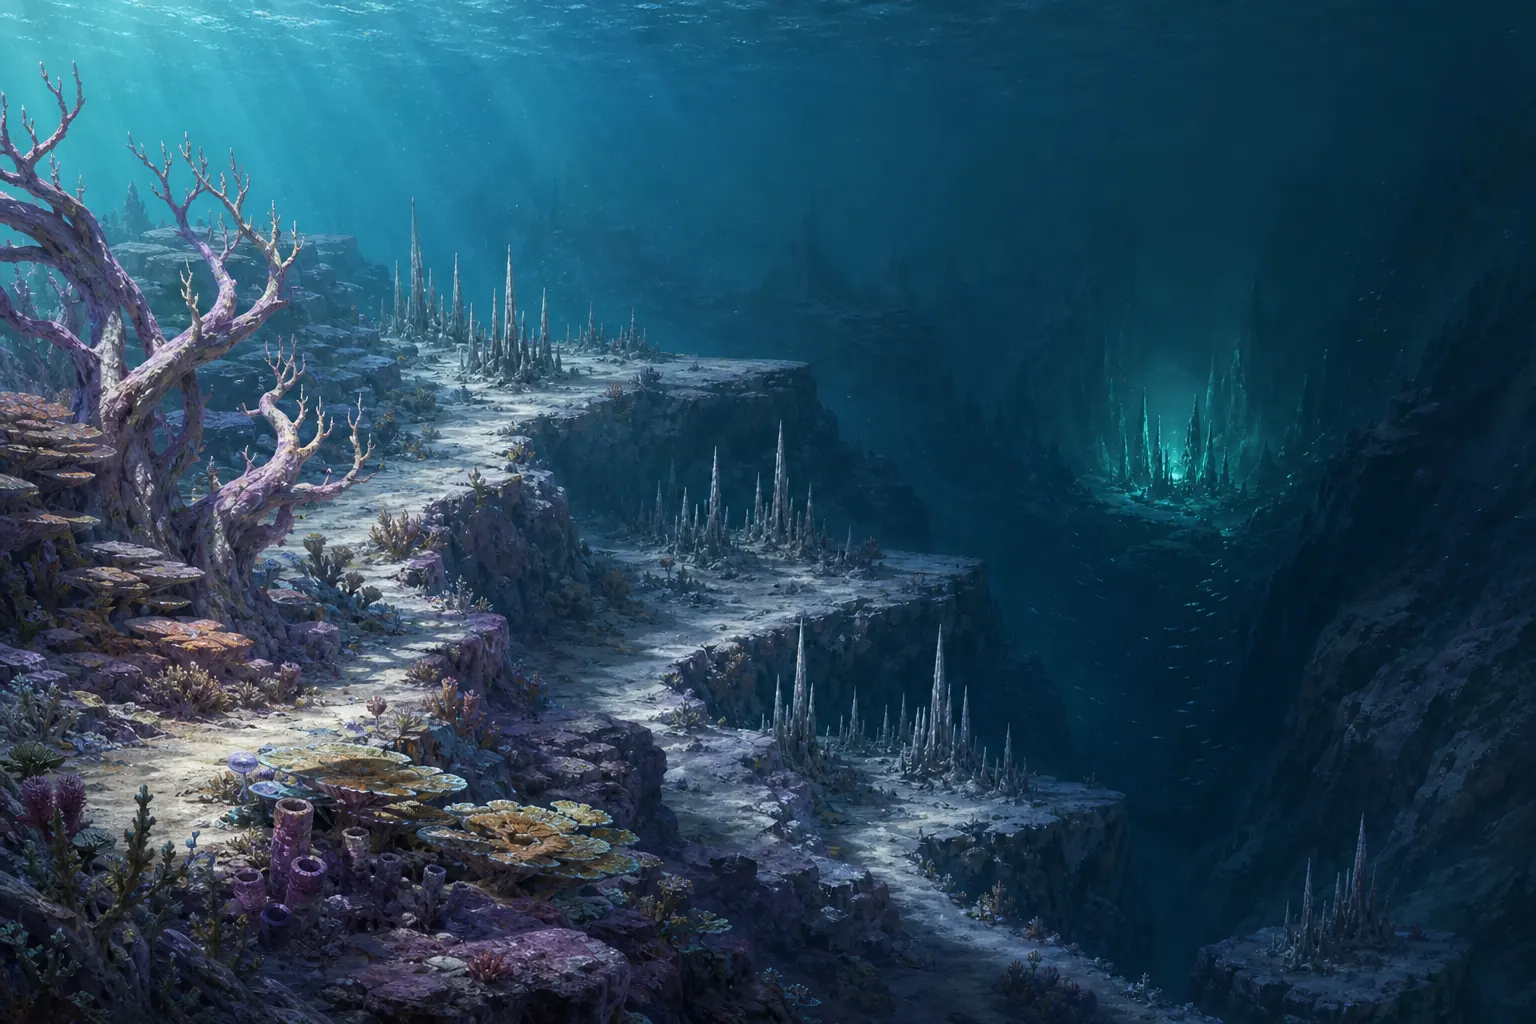
Community and guide coordinates can differ by starting point, patch and route. The biome transition, needle formations, rock terraces and pale deposits are more durable navigation cues. If your world no longer matches an older coordinate, widen the search around the same terrain type.
Visual check
How to identify Creature Enamel deposits
Players often swim past the resource because it does not look like a loose ore chunk. It resembles a pale organic or tooth-like growth attached to a darker surface, sometimes described as an Enamel Husk or a rhizome-like node.
Attached, not loose
Before harvesting, the resource is part of a larger deposit on a wall or floor. If you only search for small pickup icons, you may never notice it.
Pale against dark stone
Look for cream, ivory or light gray forms clustered against black rock. The contrast is strongest when you approach slowly with a flashlight.
Near needle formations
Use the biome's needle-like terrain as a confirmation that you are in the correct search zone, but inspect the rock surfaces around those formations rather than the needles alone.
Scanner confirmation
When uncertain, aim the Scanner at the object. The in-game name is a stronger check than matching an old screenshot because the model can change during Early Access.
Collection method
How to get Creature Enamel with the Sonic Resonator
The deposit is not a normal hand pickup. Use the Sonic Resonator, stay close enough to hit the attached husk, then collect the pieces that break free. Some deposits may need more than one pulse.
- Clear your surroundingsCheck oxygen, hostile creatures and escape space before focusing on the node. A resource animation is a bad time to discover that your return path is blocked.
- Aim at the depositCenter the Sonic Resonator on the pale attached cluster, not on the empty rock beside it. Move closer if the pulse appears to miss.
- Pulse and waitFire the resonator and watch for pieces to detach. If nothing drops, adjust distance and angle, then try again instead of assuming the node is decorative.
- Search below the impactCreature Enamel pieces can drift or settle on uneven ground. Look directly under the original deposit and around nearby vegetation.
- Confirm the pickupCheck the inventory name before leaving. Picking up Creature Enamel also unlocks the Enameled Glass blueprint in current guide data.
Crafting value
Creature Enamel, Enameled Glass and progression
Creature Enamel is valuable because it turns ordinary Glass into pressure-resistant Enameled Glass. Current recipe references list one Glass plus one Creature Enamel at the Fabricator. Enameled Glass then gates several deep-progression tools and vehicle upgrades.
Unlock and craft Enameled Glass
Collecting Creature Enamel unlocks the blueprint in current Early Access guides. At a full Fabricator, combine one Glass with one Creature Enamel. Glass itself is made from Quartz.
Tadpole Depth Module Mk. 1
The first depth upgrade uses Enameled Glass, making enamel farming part of the route into deeper biomes. Gather enough before planning a long vehicle progression run.
Feedback Resonator and Bioscanner
Both advanced upgrades use Enameled Glass alongside other rare materials. Our Conduit Crystal guide covers another shared ingredient and the deeper Alien Ruins route.
Advanced equipment and construction
Current resource tables also associate Enameled Glass with reinforced equipment, vehicle parts and a small number of habitat items. Always confirm quantities in the in-game Fabricator after an update.
Common problems
Why you cannot find or collect Creature Enamel
Most failed trips come from searching the wrong depth, treating the deposit like loose ore, or hitting the wrong part of the model. Use this checklist before blaming the save file.
You are still in the bright transition zone
Continue toward the darker Needler's Nest shelves. The outer transition confirms direction, but the best search surfaces are the lower ledges and cavern pockets.
You are looking for a pickup on the ground
Find the attached pale husk first. Loose Creature Enamel appears only after the Sonic Resonator breaks pieces away.
The Sonic Resonator does nothing
Verify battery power, move closer, aim at the pale growth and change the impact angle. Some deposits take multiple pulses or are partly hidden by rock.
The pieces disappeared
Search below and behind the node. Drops can roll down a slope, drift into plants or settle on a lower shelf.
An older guide looks different
The Adaptive Measures update and later hotfixes changed many models and balance details. Trust the current item name, biome and harvesting behavior more than one old thumbnail.
Questions
Creature Enamel FAQ
Where is Creature Enamel in Subnautica 2?
Search the Needler's Nest area north of the Twisty Bridges. Inspect dark rock terraces, cavern floors and wall pockets for pale tooth-like deposits.
How do you get Creature Enamel in Subnautica 2?
Use the Sonic Resonator on the attached enamel deposit, wait for pieces to break free, then collect the loose drops below the impact point.
Can you collect Creature Enamel by hand?
Not from the intact deposit. Current guides require the Sonic Resonator to release collectible pieces.
How do you make Enameled Glass in Subnautica 2?
Current Early Access references list one Glass plus one Creature Enamel at the Fabricator. Collecting enamel unlocks the blueprint.
How much Creature Enamel should I farm?
Take more than one piece when the route is safe. Enameled Glass is used by the Tadpole Depth Module, Feedback Resonator, Bioscanner and other advanced recipes, so a reserve saves another long trip.
Do exact Creature Enamel coordinates always work?
No. Coordinates can differ by starting point, route and patch. Use Needler's Nest terrain, descending ledges and pale attached deposits as the primary cues.