Subnautica 2 Bioscan Checklist
A Subnautica 2 bioscan checklist is more useful when it records the route, risk, and next visit instead of only counting completed entries. Use this guide to observe unknown creatures, choose a short scan window, keep a consistent log, and separate confirmed information from Early Access details that may change.
- Search intentCreature scan progress
- Check firstDistance, oxygen, and retreat path
- Data statusEarly Access can change
Quick answer
Treat a scan as a safe research loop, not a number to rush
When you use a Subnautica 2 bioscan checklist, begin with hostility, visibility, oxygen, and your exit route. If the situation is stable, scan for a short window and record the creature name, biome, visible behavior, and whether another visit is needed. A dangerous entry should stay marked as unfinished until the equipment and return conditions make it sensible. Keeping the entry unfinished is useful progress because it preserves an honest next step.
Creature names, spawn density, scan conditions, and behavior can change during Early Access. Treat community lists as leads, then compare them with the current in-game display and official updates before calling a Subnautica 2 bioscan checklist entry confirmed.
Target types
Classify an unknown creature before you chase it
A temporary category helps you decide whether to approach, observe from cover, or leave. Use the Subnautica 2 bioscan checklist to keep these labels as planning notes, not a final bestiary, even when a name or translation changes.
| Target type | What to watch | Checklist action |
|---|---|---|
| Small evasive creature | A target that retreats when you close the distance, often in open or shallow water. | Watch from a safe position, limit the chase, and save oxygen for the return. |
| Defensive creature | A target that guards space with a warning sound, turn, charge, or short pursuit. | Log its range and retreat line before trying a second scan. |
| Ambush threat | A danger suggested by darkness, a tight tunnel, a sudden sound, or a hidden approach. | Leave the entrance visible, mark the route, and return with a clear escape plan. |
| Group or habitat-linked target | A creature whose risk changes with nearby companions, resources, or terrain. | Record the group movement instead of following one target into unknown water. |
| Large or leviathan-class target | A sighting that changes the safety of a whole route through sound, size, or pursuit. | Mark the boundary first and leave the scan unfinished until preparation improves. |
Verify names and behavior in the current build. For first-party game context, check the official Subnautica 2 Steam page.
Scan route
Use one four-step route from observation to verification
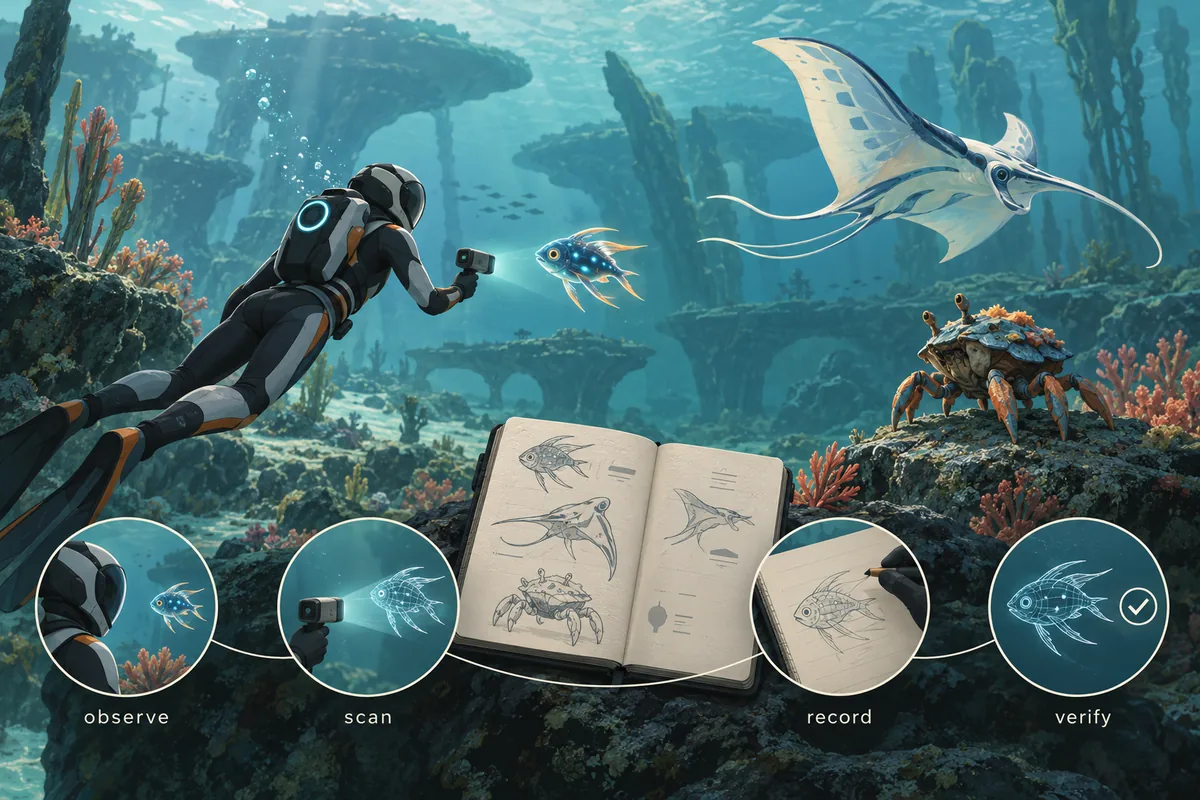
Scan progress becomes hard to maintain when every outing uses a different note format. Repeat the same four actions in the Subnautica 2 bioscan checklist so a partial attempt is still useful on the next visit. A successful run ends with a safe return and a clear record, not only with a completed percentage.
1. Observe
Check the creature's direction, sound, distance, nearby walls, and the route home. If the threat is unclear after a few seconds, record an observation and skip the scan.
2. Scan
Aim only when oxygen, battery, visibility, and cover are adequate. Stop as soon as the target turns toward you or the retreat line becomes uncertain.
3. Record
Write the name, biome, depth clue, visible behavior, and scan status in the same fields every time. Use a clear unfinished label instead of leaving a blank cell.
4. Verify
After returning to base, compare the entry with the in-game record and official updates. Recheck behavior and location after a meaningful patch.
Progression
Expand the scan list in four sensible stages
You do not need to complete every creature in one session. Build a reliable record in safe water, then add resource routes, cave edges, and large targets as your equipment and return options improve.
Set the record format in shallow water
Scan a few low-pressure targets and decide how you will write name, place, behavior, and status. Keep the fields short enough to use after every encounter.
Add scans to a resource run
Use the return leg of a material trip to observe nearby creatures. This avoids a long dive whose only goal is a single uncertain scan.
Keep a visible cave entrance
Before entering a darker edge, log the entrance, return direction, and beacon label. If the target flees, leave and come back to the same starting point later.
Approach large targets after preparation
Add repair, battery, mobility, and oxygen margin before revisiting a large creature. Marking the first contact unfinished is safer than losing a run for one entry.
Record design
Keep only the details that make a return decision easier
A checklist that is too large becomes outdated. Prioritize information that helps you find the target, judge risk, and decide what must be checked again; keep guesses separate from confirmed observations.
Use two location clues
Write a biome plus a nearby base, cave entrance, or beacon name. If labels change, the route description still helps you return.
Describe risk as behavior
Replace a vague dangerous label with an action such as charges, follows, circles, hides, or reacts to sound. Behavioral notes are easier to test again.
Make unfinished visible
Use needs revisit, needs verification, or unknown condition rather than an empty cell. Blank cells are easy to mistake for completed entries.
Share a short co-op rule
Record who scanned the target, who owns the next check, and whether spoilers are allowed. A shared convention prevents duplicate risky dives.
Field checklist
Run this bioscan checklist before moving closer
If a critical item is missing, switch from scanning to observation. A safe incomplete entry is better than a completed entry that costs a life or a full inventory.
| Stage | Check | Why it matters |
|---|---|---|
| Before leaving | Battery, oxygen, repair option, and room to bring the route home. | A scan should not turn an ordinary trip into an equipment emergency. |
| First sighting | Movement, warning sound, group behavior, and a nearby exit. | You can estimate risk before you know the creature's name. |
| Before aiming | Cover, visibility, distance, and a retreat line remain available. | The short scan window is when a changing position matters most. |
| Abort rule | Oxygen warning, pursuit, off-screen sound, or low battery means stop. | A written exit rule prevents completion percentage from taking over. |
| After returning | Name, place, behavior, status, and review date are recorded. | The next dive needs a route and a question, not a vague memory. |
| After a patch | Behavior, spawn area, scan condition, and log date are reviewed. | Early Access changes can invalidate an old observation without making the whole checklist useless. |
Early Access notes
Separate stable habits from changing game data
A checklist lasts longer when it keeps repeatable safety habits apart from creature details that may be renamed, moved, or rebalanced.
Names and translations
An English label, a localized label, and a community nickname may differ. Keep the current in-game name beside your search term instead of treating one spelling as final.
Spawn place and density
A patch may shift a biome edge or the number of creatures in a route. Record entrances and visual landmarks instead of relying only on fixed coordinates.
Scan conditions
Equipment, distance, and unlock rules should come from the current game display. Old videos are useful clues only after the same action works in your build.
Shared review date
A co-op sheet should include the build, date, and editor. This keeps an old observation from silently becoming a current fact.
Related guides
Connect scan progress to the rest of your route plan
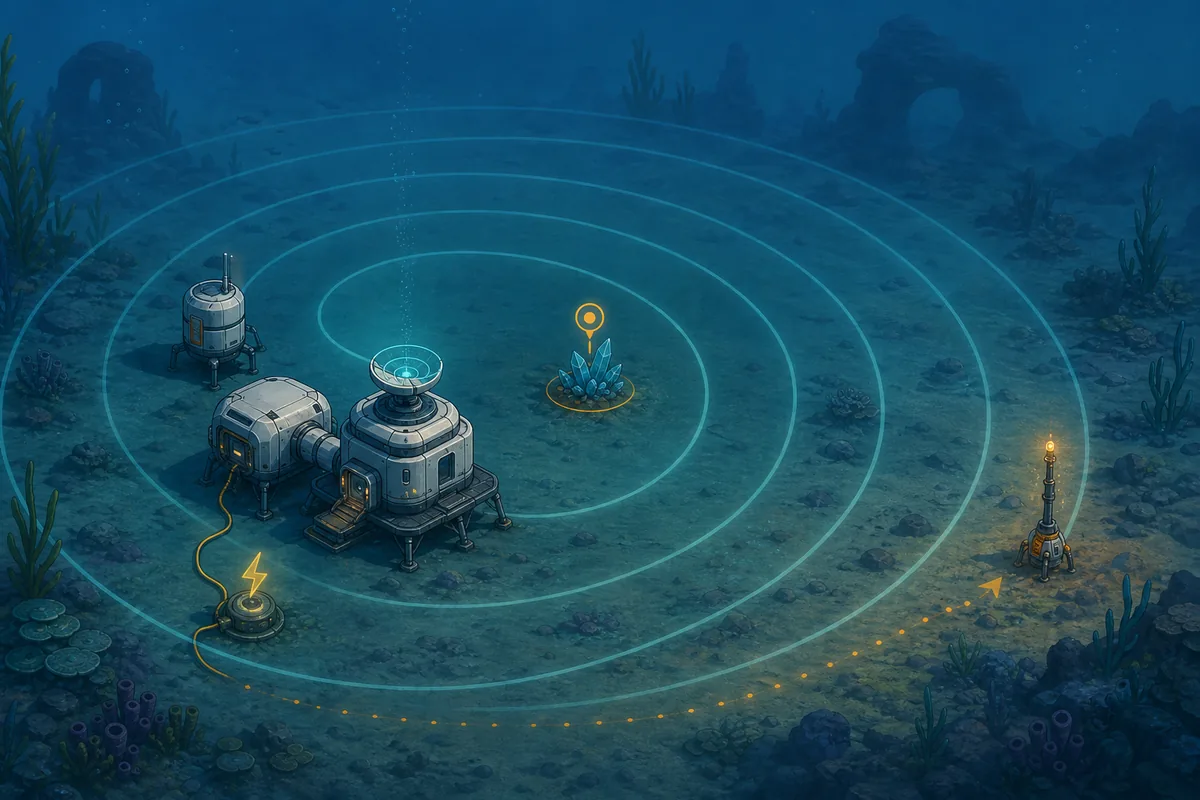
A creature list becomes more useful when it links to safety, beacons, scanner range, and the base network that makes a second visit practical.
Subnautica 2 creatures and leviathans guide
Review creature risk, leviathan encounters, and safe observation habits.
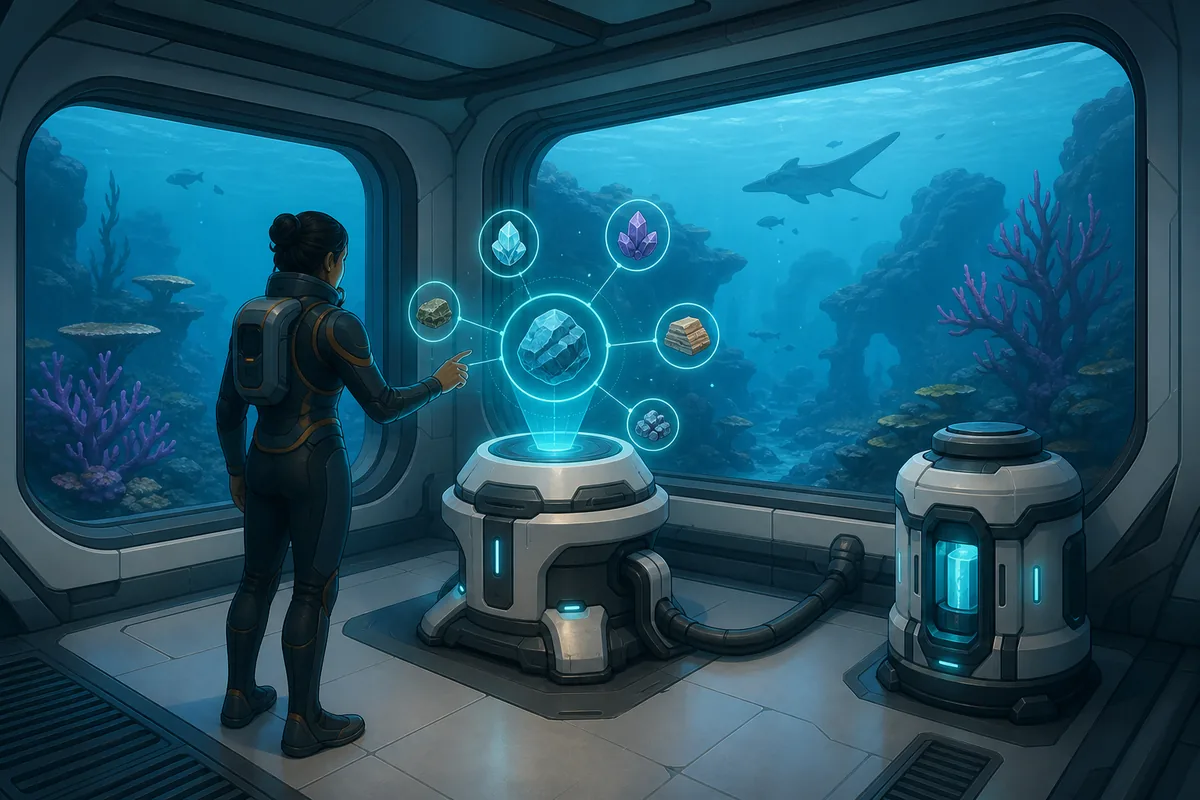
Subnautica 2 scanner station guide
Plan scanner range and material research around a base loop.
Subnautica 2 map and navigation guide
Name beacons and return routes so the next scan starts safely.
Subnautica 2 base building guide
Prepare storage, power, and oxygen support for deeper routes.
Subnautica 2 on Steam
Check first-party Early Access context and the current listing.
FAQ
Subnautica 2 Bioscan Checklist FAQ
What should I scan first in Subnautica 2?
Start with low-pressure creatures in open, familiar water. Record the name, place, behavior, and status in one consistent format before expanding into resource routes or cave edges.
Can I leave a dangerous creature unfinished?
Yes. Mark it as needs revisit and save the boundary, sound, retreat path, and equipment gap. A clear unfinished entry is a safer form of progress than a forced scan.
What belongs in a bioscan checklist?
Keep the creature name, location clues, observed behavior, scan status, and review date. Separate guesses and old requirements from confirmed current-build observations.
How is this different from a creature guide?
A creature guide explains risk and encounter decisions. This checklist is a tracking system for what you observed, what is confirmed, and which route needs another visit.
Should I approach a large creature just to complete the list?
No. First record its boundary, sound, pursuit, and an exit. Return only when oxygen, repair, mobility, and the route home give you a reasonable margin.
What should I recheck after an Early Access update?
Review the name, spawn area, behavior, scan condition, and note date. Use the current in-game display and official updates to confirm whether an old entry still applies.
How do co-op players share scan progress?
Use a shared sheet or beacon name with creature, location, risk, owner, and date. Agree on editing and spoiler rules so players do not repeat the same risky dive.